Frequently Asked Question
Purpose
Use this article to learn how to make a table in Microsoft Word.
Tables can help organize information into rows and columns. They can also be used to help format parts of a Word document.
Before you begin
You will need:
- Access to Microsoft Word
- A Word document where you want to add a table
Step 1: Click the Insert tab
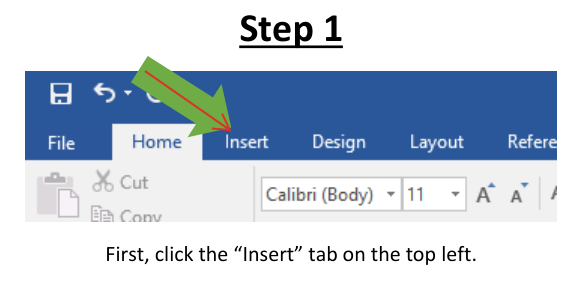
At the top of Microsoft Word, click the Insert tab.
Step 2: Click Table
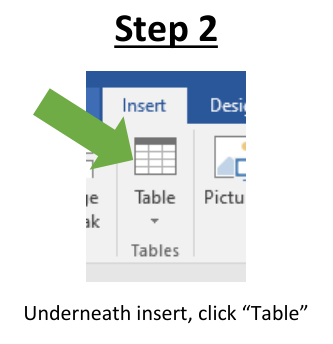
Under the Insert tab, click Table.
Step 3: Choose the table size

In the drop-down menu, move your mouse over the squares to choose how many rows and columns you want.
For example, selecting 3 columns by 2 rows creates a 3x2 table.
Step 4: Review the table in your document
After you choose the size, the table will appear in your Word document.
You can click inside each box, also called a cell, and begin typing.
Optional method: Draw a table
If you want a table with a different shape, click Draw Table.
Then hold down the mouse button and move your mouse to draw the shape of the table you want.

If you are having trouble formatting a Word document the way you want, you can sometimes use tables with the border color set to white.
This can help line up text or images while making the table lines less noticeable.
Expected result
You should now be able to create tables of different sizes in Microsoft Word.
If this does not work
Try clicking the Insert tab again and choosing Table.
Need More Help?
If this walkthrough does not resolve the issue, please contact Lake Land College IT Support for assistance.
Submit a ticket: https://helpdesk.lakelandcollege.edu/
Call: 217-234-5261
Search Terms:
PowerPoint table
add table PowerPoint
insert table in PowerPoint
make a table in PowerPoint
PowerPoint rows and columns
create table PowerPoint
PowerPoint table grid
add rows and columns PowerPoint
how to add a chart in PowerPoint
PowerPoint insert table